How To Install Beadboard and Moldings
Installing beadboard and moldings can transform your space with timeless elegance. This guide will take you through the key steps for a smooth installation.
You'll learn how to install beadboard, baseboard, top cap chair rail, and corner moldings effectively. Additionally, we will cover the tools you'll need, including a finish nailer and wood glue.
By following these instructions, you'll achieve a professional look with your beadboard kit. Let’s dive into the process of creating a stunning room in your home.

Beadboard Kit Installation Steps
1) Install Baseboard
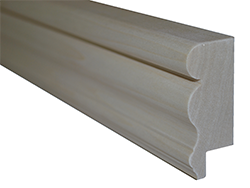
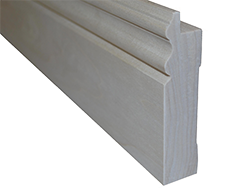
Install 4 1/2" Baseboard molding to wall section. The baseboard is 1 1/16" thick, so if your door casings are thinner, you can slightly chamfer (45 degreee) the edge of the baseboard to reduce its thickness at the point where it meets the casing.
Miter the baseboard moldings at the inside and outside corners.
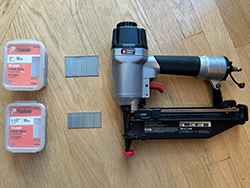
Recommend nailing baseboard with a Finish Nailer using 16 gauge finish nails that are 2 1/2" long. If you are looking to purchase a nail gun and compressor Porter Cable Combo Kit is a great value and we highly recommend it. Home Depot and Lowes usually sell these Porter Cable combo kits.
2) Inside and Outside Corners
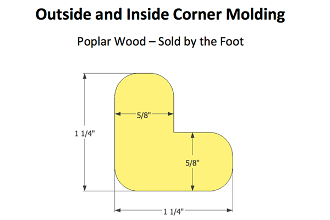
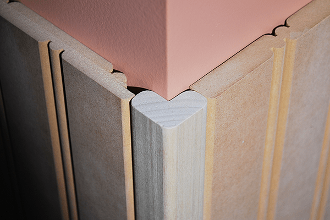
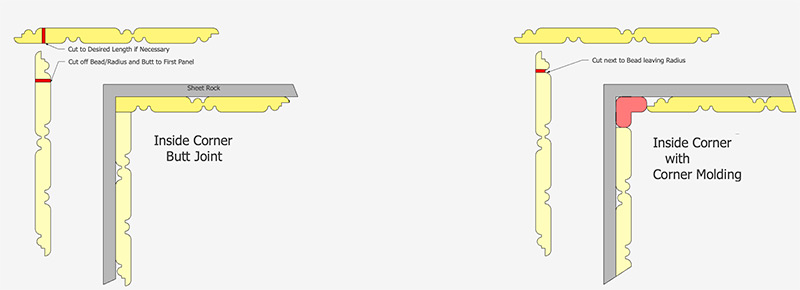
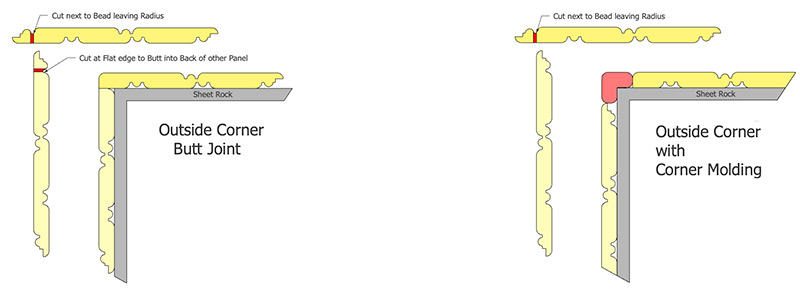
Determine if you are going to use the corner molding for inside and outside corners. We recommend corner molding for outside corners and Butt joints for inside corners, but the molding will work for both inside and outside corners.
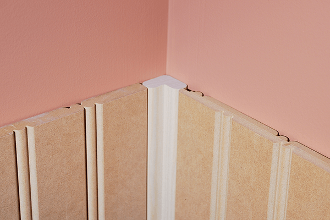
Inside Corner Options
For most situations, we suggest going with the Butt Joint option since it makes the installation easier and you won't need corner molding.
Outside Corner Options
For high-traffic outside corners, the Poplar Corner Molding is an excellent choice due to its durability and ability to withstand impact. A butt joint outside corner is also very nice if you put a radius on the corner.
3) Dry Fit Beadboard
Dry fit beadboard panels. You may need to adjust the panels slightly to the left or right to ensure that the edges at the corners or casings do not interfere with the beaded rout. You can use a 1/4" radius router bit to round the edge if needed.
Each panel has a finish width of 8", so you can measure out the start and top of each panel in multiples of 8.


4) Nail Beadboard Panels
After dry fitting the beadboard panels into the wall section, use a stud finder to mark the location of the studs just above the panels. Recommend nailing beadboard panels with a nail gun using 16 gauge nails that are 2" or 2 1/2" long. If you have plumbing pipes behind the wall you might want to reduce the length to 1 1/2" long.
Use a 2 Foot Level to make sure moldings and panels are level and plumb as you go around the room.

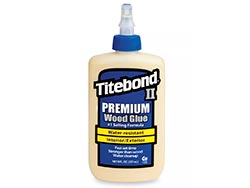
Use wood glue on the lap-joint seams and apply either a wood glue or construction adhesive on the back of the beadboard panel. You don't need a lot of glue behind the beadboard panel.
Nail each panel through the lap joint up high within the top 1 /2" so that nail will be covered by the top cap molding and down low. Also nail the panels where the studs are located. (every other panel if the studs are on 16" centers).
5) Install 2 1/2" Top Cap Molding
Install 2 1/2" Top Cap molding to wall section. The Top Cap has a thickness of 1 1/16", so if your casings are less than this thickness, you can chamfer (45 degree) the edge of the top cap slightly to reduce its thickness at the point where it meets the casing. Miter the top cap moldings at the inside and outside corners. Recommend nailing top cap molding with a nail gun using 16 gauge nails that are 2 1/2" long.
Go to our How to Prime and Paint Page for Professional Painting steps.
